How to Screenshot on a Computer: Windows, Mac and Chromebook
Take a screenshot on any computer in seconds: the exact keys for Windows, macOS and Chromebook, where the file lands and how to fix blank captures.
The quick answer
Every desktop operating system has a built-in screen-capture shortcut, so you don't need to install anything. The capture either lands in a folder as an image file or sits on the clipboard, ready to paste with Ctrl + V (Command + V on a Mac).
- Windows: press Windows key + Shift + S, then drag around the area you want.
- macOS: press Shift + Command + 4 and drag a box, or Shift + Command + 3 for the whole screen.
- Chromebook: press Ctrl + Show windows for everything, and add Shift to drag out a section.
If you remember nothing else: Windows key + Shift + S on a PC, Shift + Command + 4 on a Mac, Ctrl + Shift + Show windows on a Chromebook.
| What you want | Windows | macOS | Chromebook |
|---|---|---|---|
| The whole screen | Windows key + PrtScn saves a file; PrtScn alone copies the screen | Shift + Command + 3, one file per display | Ctrl + Show windows |
| A single window | Alt + PrtScn (clipboard), or Windows key + Shift + S then Window mode | Shift + Command + 4, press Space, then click the window | Ctrl + Shift + Show windows, then drag over the window |
| Part of the screen | Windows key + Shift + S, then drag | Shift + Command + 4, then drag | Ctrl + Shift + Show windows, then drag |
| An editor with options | Snipping Tool, opened from the notification or the Start menu | Shift + Command + 5 toolbar | The screen-capture panel that appears with the shortcut |
What you need before you start
Nothing special, but a minute of preparation saves a retake:
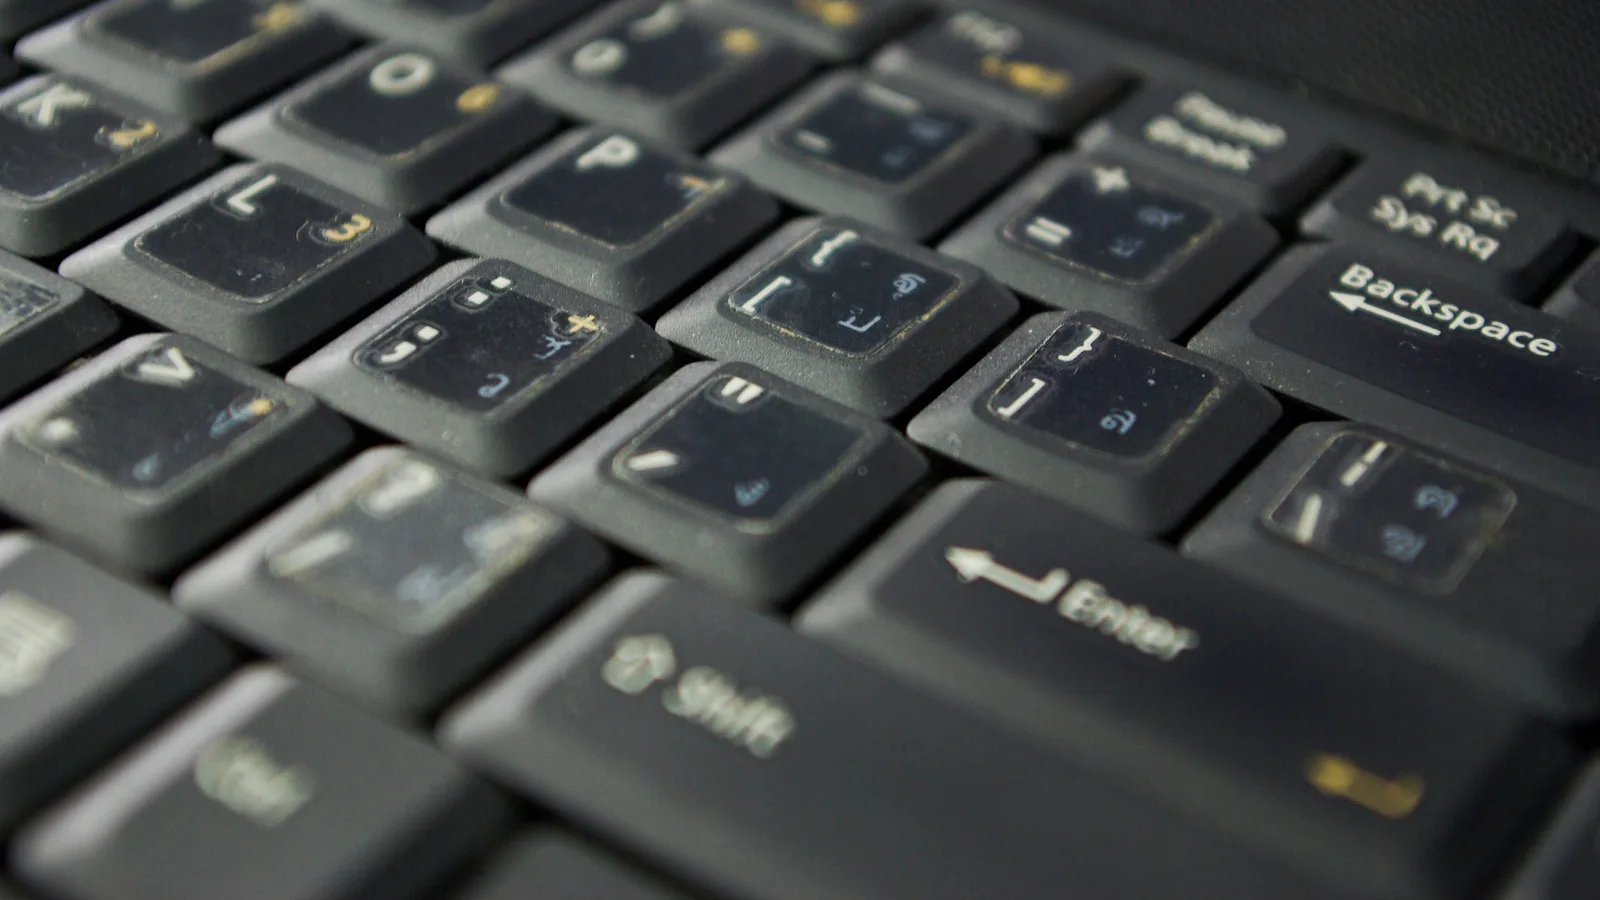
- Your keyboard layout. The Print Screen key may be labelled PrtScn, PrtSc, PrtScr or SysRq, and on compact laptops it is often a secondary function of another key.
- A decision about the area. Whole screen, one window or a small region. A region is the safest choice if anything private is on screen.
- Somewhere to put the image. An email, a chat window, a document or an image editor. If you're pasting, have that window open first.
- A tidy screen. Close private tabs, clear notifications and check what's behind the window you're capturing. Whatever is on the display at that moment goes into the picture.
How to take a screenshot on Windows
Decide what you're capturing
Whole screen, a single window, or a rectangle around one detail. This decides which shortcut you use and whether you end up with a file or an image on the clipboard.
Open the capture overlay
Press Windows key + Shift + S. The screen dims and a small toolbar appears with four modes: Rectangle, Window, Full screen and Freeform.
Make the selection
Pick a mode and drag around the area, or simply click a window in Window mode. The capture goes straight to the clipboard and a notification slides in from the corner — no file has been saved yet.
Save it or paste it
Click the notification to open the capture in the Snipping Tool, where you can crop, annotate and choose Save as. If you're pasting into an email or document, press Ctrl + V instead and skip the file entirely.
Use the one-key route for a saved file
Press Windows key + PrtScn for an instant full-screen PNG in Pictures > Screenshots. For a single window with no overlay, Alt + PrtScn copies the active window to the clipboard.
How to take a screenshot on macOS
Capture the whole screen
Press Shift + Command + 3. If you have more than one display connected, each screen is saved as its own file on the Desktop.
Capture a region
Press Shift + Command + 4, then drag a box over the area you want. Release the mouse or trackpad to capture. Press Esc before releasing to cancel.
Capture one window
Press Shift + Command + 4, then press Space. The pointer turns into a camera; click the window to capture it. Hold Option as you click to leave out the drop shadow around it.
Open the toolbar when you want options
Press Shift + Command + 5 for the Screenshot toolbar. From there you can choose where the file is saved, set a timer, show or hide the mouse pointer, and record the screen instead of capturing a still.
Edit while the thumbnail is still there
A small preview appears in the corner for a few seconds. Click it to crop, annotate, rotate or send the image straight into a document; ignore it and the file simply appears on the Desktop.
How to take a screenshot on a Chromebook
Capture the whole screen
Press Ctrl + Show windows — the key on the top row marked with overlapping rectangles. The image is saved immediately and a notification appears.
Capture part of the screen
Press Ctrl + Shift + Show windows and drag a box around the area you want. Release to capture.
Find and edit the image
Open the notification to copy the image to the clipboard or open it in the Gallery app, where you can crop and annotate it. Saved screenshots live in Files > Downloads.
Where the file actually ends up
- Windows key + PrtScn:
- Pictures > Screenshots, in File Explorer
- Windows key + Shift + S:
- Clipboard only — open the notification to save a copy
- Mac (Shift + Command + 3, 4 or 5):
- Desktop by default, as a PNG named 'Screenshot' with the date and time
- Mac with Control held:
- Clipboard only — paste into any app
- Chromebook:
- Files > Downloads
If you can't find a capture you just took, sort the folder by Date modified rather than hunting by name. Screenshot file names follow a predictable pattern but the timestamps are what confirm you're looking at the right one.
What commonly goes wrong, and how to fix it
- The capture is completely black. Streaming services, some banking apps and a few full-screen games block screen capture by design. Switch the video to windowed mode, or use the app's own capture button if it has one.
- Nothing happens when you press Print Screen. Try Fn + PrtScn, check the Windows 11 keyboard setting described above, or switch to Windows key + Shift + S, which doesn't rely on that key at all.
- The menu you need closes the moment you click. Use a delay: the Snipping Tool has a timer, and on a Mac choose Shift + Command + 5, then Options > Timer.
- You only captured one monitor. On Windows, Windows key + PrtScn saves a single image spanning all your displays; on a Mac, Shift + Command + 3 saves a separate file for each one.
- Small text looks smeared after pasting. PNG keeps text crisp; JPEG compresses and blurs fine detail. Pasting into a chat app can also re-compress the image, so send the file if legibility matters.
- The cursor is in the shot. On a Mac, untick Show Mouse Pointer in the Shift + Command + 5 toolbar before capturing.
Editing, redacting and sharing sensibly
A raw capture is rarely the version you want to send. Crop to the relevant area first, then add a box, arrow or short note if the reader needs pointing at something. Keep the original untouched in case you need to re-crop later.
For redaction, draw opaque rectangles over the sensitive parts in an image editor rather than trusting a marker pen or a semi-transparent highlight. Save a PNG for anything containing text, interface elements or diagrams, and reserve JPEG for photographic content where a smaller file matters more than sharpness.
Give the file a name that means something — the recipient of a bug report or a support ticket will not thank you for a folder of files called Screenshot (1), Screenshot (2) and Screenshot (3).
Frequently asked questions
Does the Print Screen key still work on Windows 11?
Yes, but its behaviour can be changed. By default it may open the Snipping Tool overlay instead of copying the screen to the clipboard, which is controlled by a switch in Settings > Accessibility > Keyboard.
Can I take a screenshot on a laptop with no Print Screen key?
Yes. Use Windows key + Shift + S or open the Snipping Tool from the Start menu — neither depends on a dedicated key. On some laptops the function exists as Fn plus another key.
Where do Mac screenshots go if I never saw a file appear?
They go to the Desktop by default. If nothing is there, check the Shift + Command + 5 toolbar: the Options menu sets the save location and may have been pointed at Documents, Clipboard or another folder.
Why is my screenshot black when the video looked fine on screen?
The app is protecting its content from being copied, which streaming services and some banking apps do deliberately. Windowed mode sometimes works; otherwise the app's own screenshot or download feature is the only route.
Do screenshots include the mouse pointer?
Usually not by default. On a Mac the Shift + Command + 5 toolbar has a Show Mouse Pointer toggle; on Windows the Snipping Tool generally leaves the pointer out.
Can I capture a right-click menu that disappears when I click elsewhere?
Yes — set a short delay in the Snipping Tool or in the macOS Options menu, open the menu and let the timer fire while it is still on screen.